

At first glance, your attention is immediately drawn to the actor's face. If this were a mock commercial for a retail hair store, the main focus would be the actor's hair. Therefore, we used a lighting technique and framing that instantly highlights the actor's face and hair, ensuring they are the center of attention.
Cinematic lighting goes beyond the standard three-point lighting setup. This technique adds drama, depth, and atmosphere to a scene by utilizing methods like backlighting, indirect or bounce lighting, overheads and practicals. In this blog, we'll explore the key elements of cinematic lighting, how to implement these techniques, and the impact they can have on your visual storytelling.
In the image above, the window in the background is overly exposed by the backlight, emulating the temperature and harsh intensity of sunlight. Backlighting was used to create a three-dimensional effect by hitting the actor slightly higher from behind, separating them from the background. This lighting technique also enhances the dynamic range of the scene by creating a silhouette of the subject against the background.
Let’s take a look at the S-log image of the same scene, this time using only the backlight, practicals, overhead rims, and wall bounce. Note: The key and fill lights are turned off.


In Image 1, the strong diffused backlight allows us to silhouette the actor, with the overhead rims highlighting the actor and the practical lamp creating an ambient blend of the overall lighting.
In Image 2, the separation appears more crushed, with darker shadows but an even more dramatic effect. In both images, the practical lamp functions as both practical and backlighting. That is why, even without the strong backlight, we can still see a decent amount of backlighting and separation in Image 2. Let’s also give credit to the incredible performance of the Sony FX6 in low-light scenarios like this.
Practical lights are light sources visible within the scene, such as lamps, candles, or streetlights. These are intentionally added by the set designer or lighting crew to create a cinematic mood and indicate the time of day. They can also provide subtle lighting to the subject. In the images, the lamp served as a practical light.
Overhead and rim lights are essential components of cinematic lighting. Understanding how to effectively use these techniques can significantly enhance the visual storytelling of your project.
Overhead Lights: Positioned above the subject, overhead lights cast light downward, simulating natural illumination and adding texture. This setup can mimic natural lighting conditions, such as daylight from a window or an overhead ceiling light.
Rim Lights: Also known as edge lights or hair lights, rim lights are placed behind and to the side of the subject, creating a rim of light around the edges. This technique highlights the subject’s contours and separates them from the background.
In the images, we achieved quick separation using only overhead lights, rim lights, and practical lights. These elements worked together to enhance the subject's visibility and create a visually engaging scene.

The key light is the primary and most influential light source in a scene. It is intended to be the strongest light, providing the main illumination and shaping the subject. Traditionally, the key light is placed at a specific angle to create depth and highlights, setting the overall tone for the scene.
In contrast, the fill light is used to soften the shadows created by the key light. It ensures that the details in the shadows are visible without overpowering the key light, maintaining a balanced and natural look.
To achieve a more stylized or softer look for the key and fill light, many cinematographers opt for bounce or indirect lighting techniques. This approach involves reflecting light off a surface, such as a bounce board or white wall, to soften its intensity. Bounce lighting reduces harsh shadows and creates a more even, diffused illumination, making it especially useful for achieving a gentle, natural look that blends seamlessly with other light sources in the scene.
In practice, bounce and indirect lighting can be used effectively as either key or fill lights. When used as a key light, these techniques create a softer, more diffused main light, reducing the stark contrasts often associated with direct lighting. As a fill light, bounce or indirect lighting smooths out the shadows created by the key light, resulting in a more balanced and natural look.
From the images, you can see how these techniques contribute to a stylized and softer appearance, blending the light seamlessly with the rest of the scene.
Lighting your subject to be slightly or significantly brighter than the background helps draw attention to them. Lighting the subject’s face from behind, opposite the camera (also known as upstage lighting), adds definition to the face as shadows fall toward the camera. A strong diffused backlight can enrich your scene and enhance the dynamic range. Utilizing bounce and indirect lighting techniques helps avoid harsh key light shadows and improves the blend with the overall lighting in the scene. There are many cinematic lighting techniques you can use to set the mood and enhance your storytelling. If you need assistance or want to discuss your film production projects, contact us at Budget Camera Rental. We’d be happy to help.


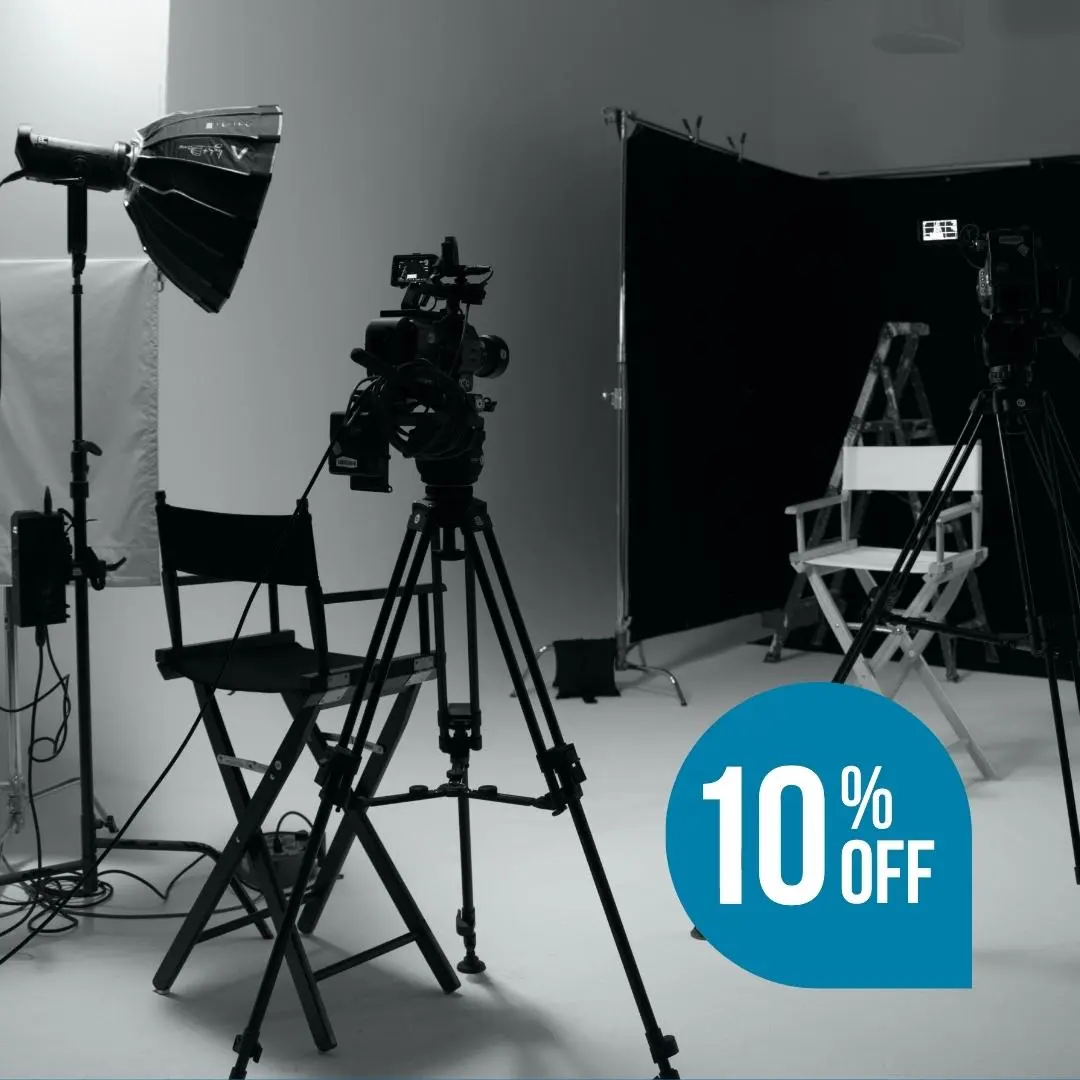
Use of space
Booking must be completed by adults only (18 years + If you are an adult and reserving the space for teen please ensure no alcohol is served or carried into the building.
The space must be returned to its original condition at the end of the session. This includes deep cleaning and garbage removal. If you require assistance with cleaning or disposing of production props or other waste, an additional fee will apply.
All forms of smoking. vaping and shisha are prohibited inside the property. Violating the smoking terms will result in immediate termination of the session with no refunds, and everyone must leave the building within 15 minutes; otherwise, local law enforcement will be contacted.
Dry ice. fog. and haze machines are allowed in the entire studio but must be monitored at all times.
Customers are responsible for any damages done by themselves or their guests during their session.
Capacity
The studio allows a maximum of 30 guests. Please stay within booked capacity; exceeding the booked number of guests inside the property will incur an added cost.
We reserve the right to end the session if the maximum capacity (30 guests) is exceeded.
Security deposit
A $750 security hold will be authorized on your credit card; this is not an actual charge. This will be deducted in the case of any required cleaning, repainting, damages, exceeded capacity and time or other studio violations. If the incurred cost is above the security hold, the difference will be charged to your authorized card on file. or a recurring payment arrangement will be scheduled.
Pets
A $350 refundable security hold is required for bringing pets into the studio. This covers damages and muck, otherwise will be cancelled after your session. Please be sure to contact the studio beforehand.
Now Shipping Across Ontario
We have partnered with Purolator to ship select equipment rentals to customers within Ontario. This service is designed to offer filmmakers and video creators across the province more convenience, flexibility, and accessibility.
Important Note
Shipping is available for select items only, with a minimum rental period of 2 days. Contact us to learn which gear is eligible and to confirm shipping costs.
All shipping orders must be confirmed at least 3 business days before the rental start date.
How it works
On the checkout page, select ‘Express Shipping’ under order type, and provide your delivery address.
📝 Request a Quote
Navigate through our gear categories. See what you like, and select "Add to List" or click on the image to learn more.
✅ Order Confirmation
A team member will confirm gear availability and guide you through account creation if it's your first time renting—before completing your reservation.
📦 Pickup & Return
Mon – Fri: 9:00 AM – 6:00 PM
Sat: 10:00 AM – 4:00 PM
🚚 Request Delivery
You can request rental delivery within a 100-mile radius of our Toronto location.
👤 First-Time Renters
First-time renters are required to complete a rental agreement form with a valid ID.
🛡️ COI (Certificate of Insurance)
Independent insurance coverage is required for orders with a total replacement value above $15,000 CAD. Learn More
💳 Security Authorization
A small hold will be placed on your credit/debit card. The hold will be canceled upon the return of the rental.
We offer a convenient delivery service for all our rental gear within a 100km radius of our location. Our goal is to ensure you have everything you need on time and in perfect working condition.
Request: You can request delivery at any time during your reservation—in person, via email, or by phone.
Equipment Testing: All gear is thoroughly tested before delivery to ensure it’s fully functional and ready for use.
Inspection Upon Arrival: When the driver arrives, please inspect the equipment and verify the equipment list to ensure everything is in order.
Rental Requirements: To avoid cancellation, please ensure all rental processes and requirements are completed at least 2 hours before the scheduled delivery time. If not completed, the delivery will be canceled, and rental credit will be applied to your account.
Protection & Responsibility: We ensure all equipment is well-protected and safely transported. Once delivered, the client is responsible for any damage or issues that may arise while the equipment is in their possession.